Hello, and welcome to the first post on my blog. :)
In this article, I want to document the development process behind my DIY synthesizer project based on the Arduino R4 Minima, from the first breadboard prototypes and early case prints to the overall concept and design process.
Once the initial idea was in place, the first step was to define the project requirements. I wanted to build a device capable of generating tones while integrating smoothly into my existing setup of other synthesizers. Portability was also an important factor, so it became clear early on that the device would need to run on battery power.
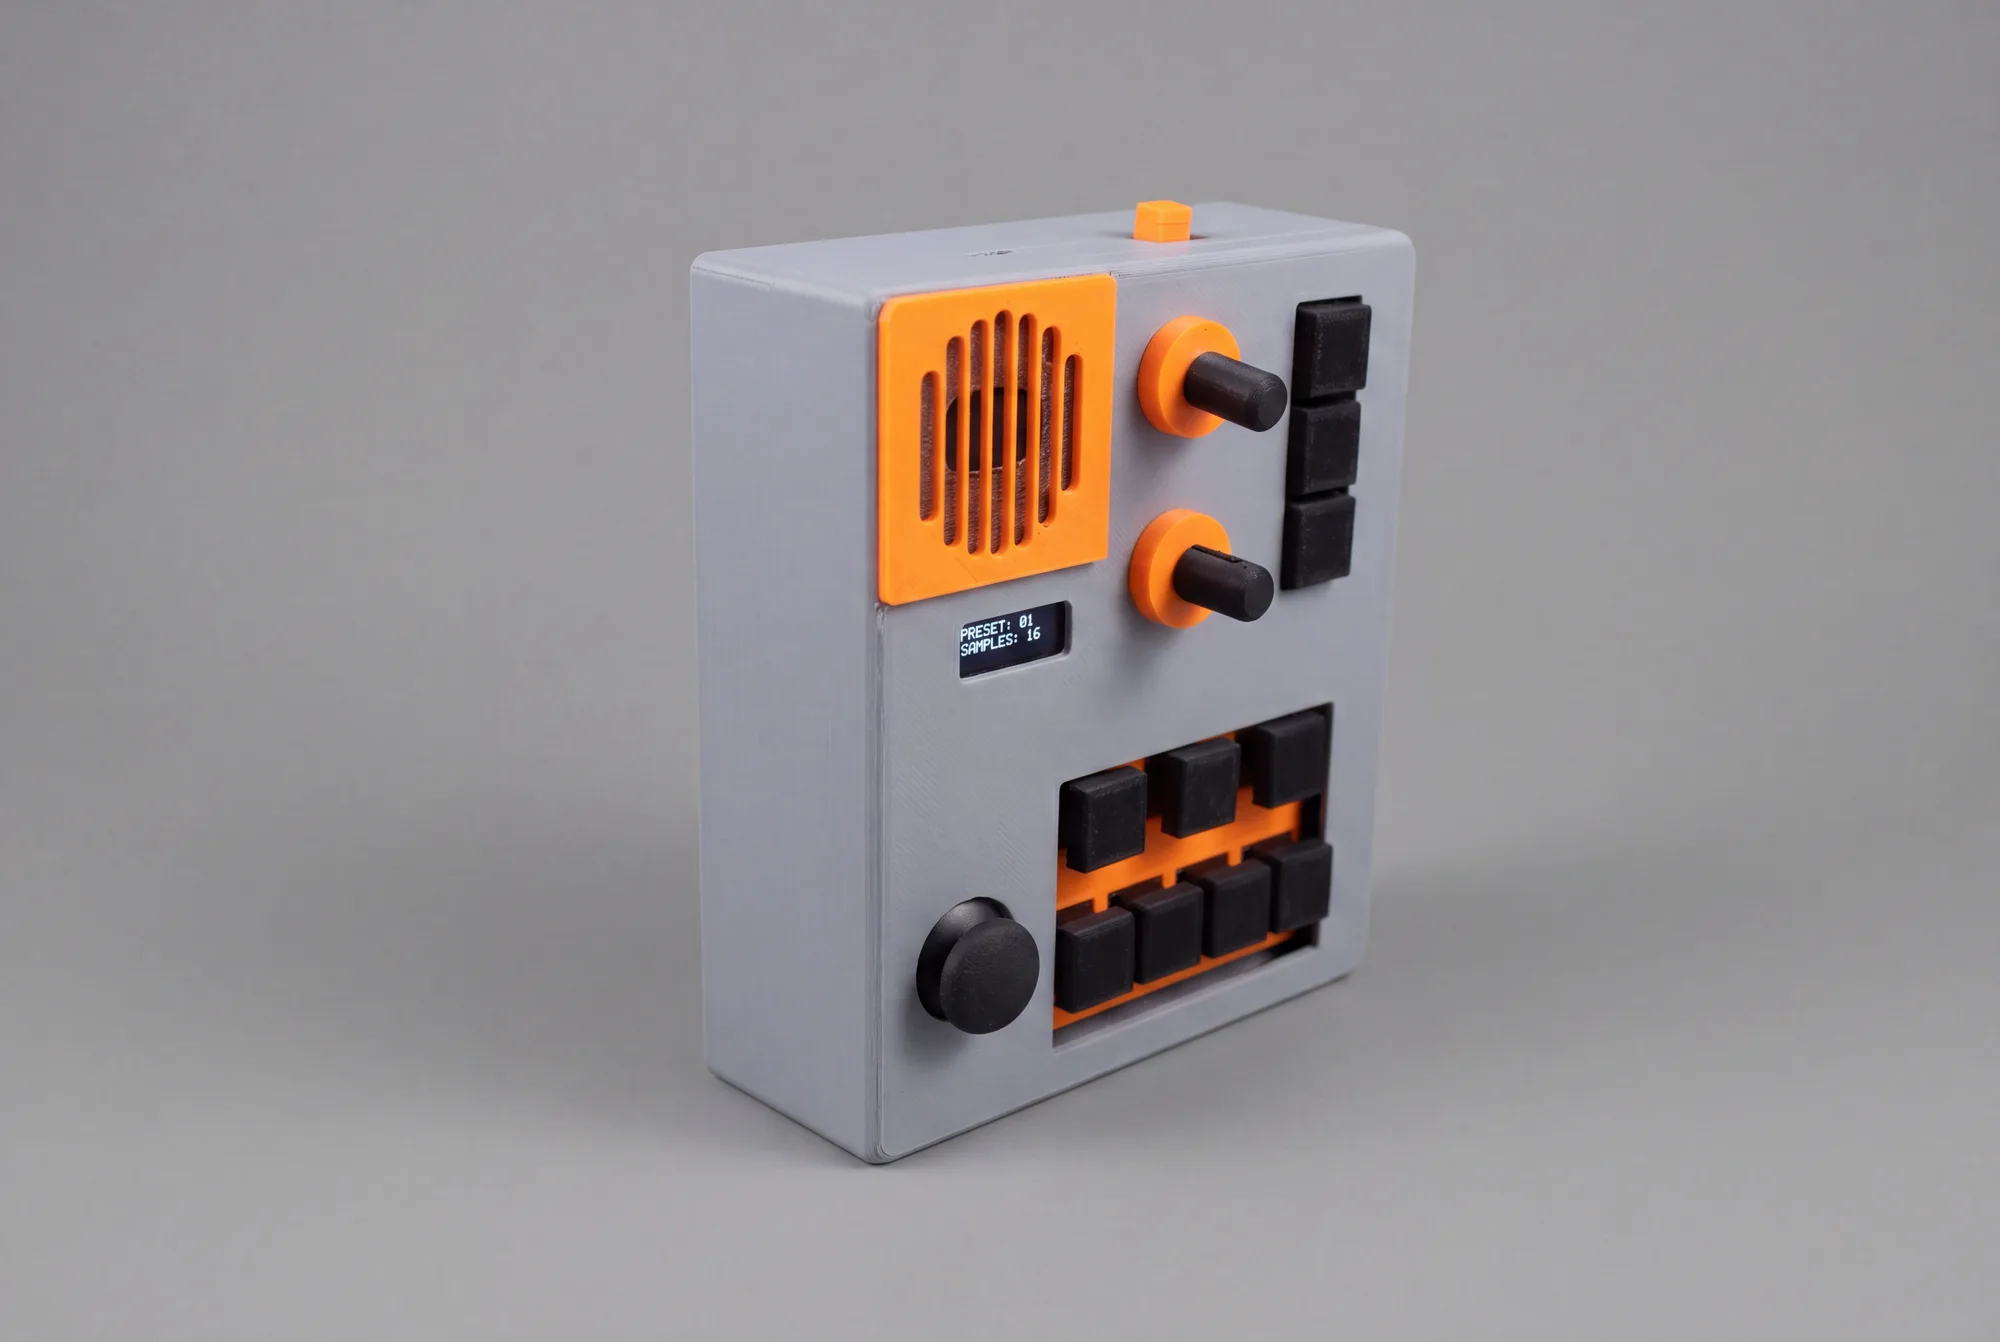
For the playing interface, I chose 7 note keys, since a standard scale consists of 7 notes. In addition, the device includes 3 function buttons and 2 rotary encoders for modifying and shaping the generated sound. I also wanted to include a display to provide visual feedback for the current settings and the parameter being edited. To make the synthesizer usable as a standalone device, I added a built-in speaker. At the same time, a headphone jack was included so it could also be connected to other synths as part of a larger setup.
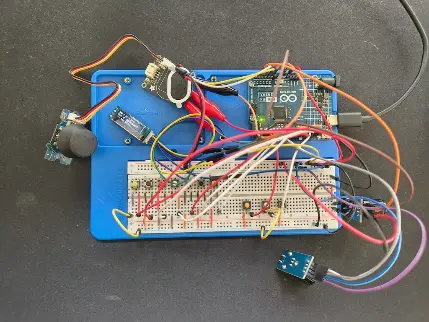
After defining the requirements, I created and tested an initial circuit simulation on Wokwi. The next step was to determine which components would be suitable for the project and which ones would work together reliably. This involved a fair amount of research, comparing parts, checking compatibility, and sourcing everything from different online shops. Once all the components had arrived, I could finally begin assembling the first hardware prototype.
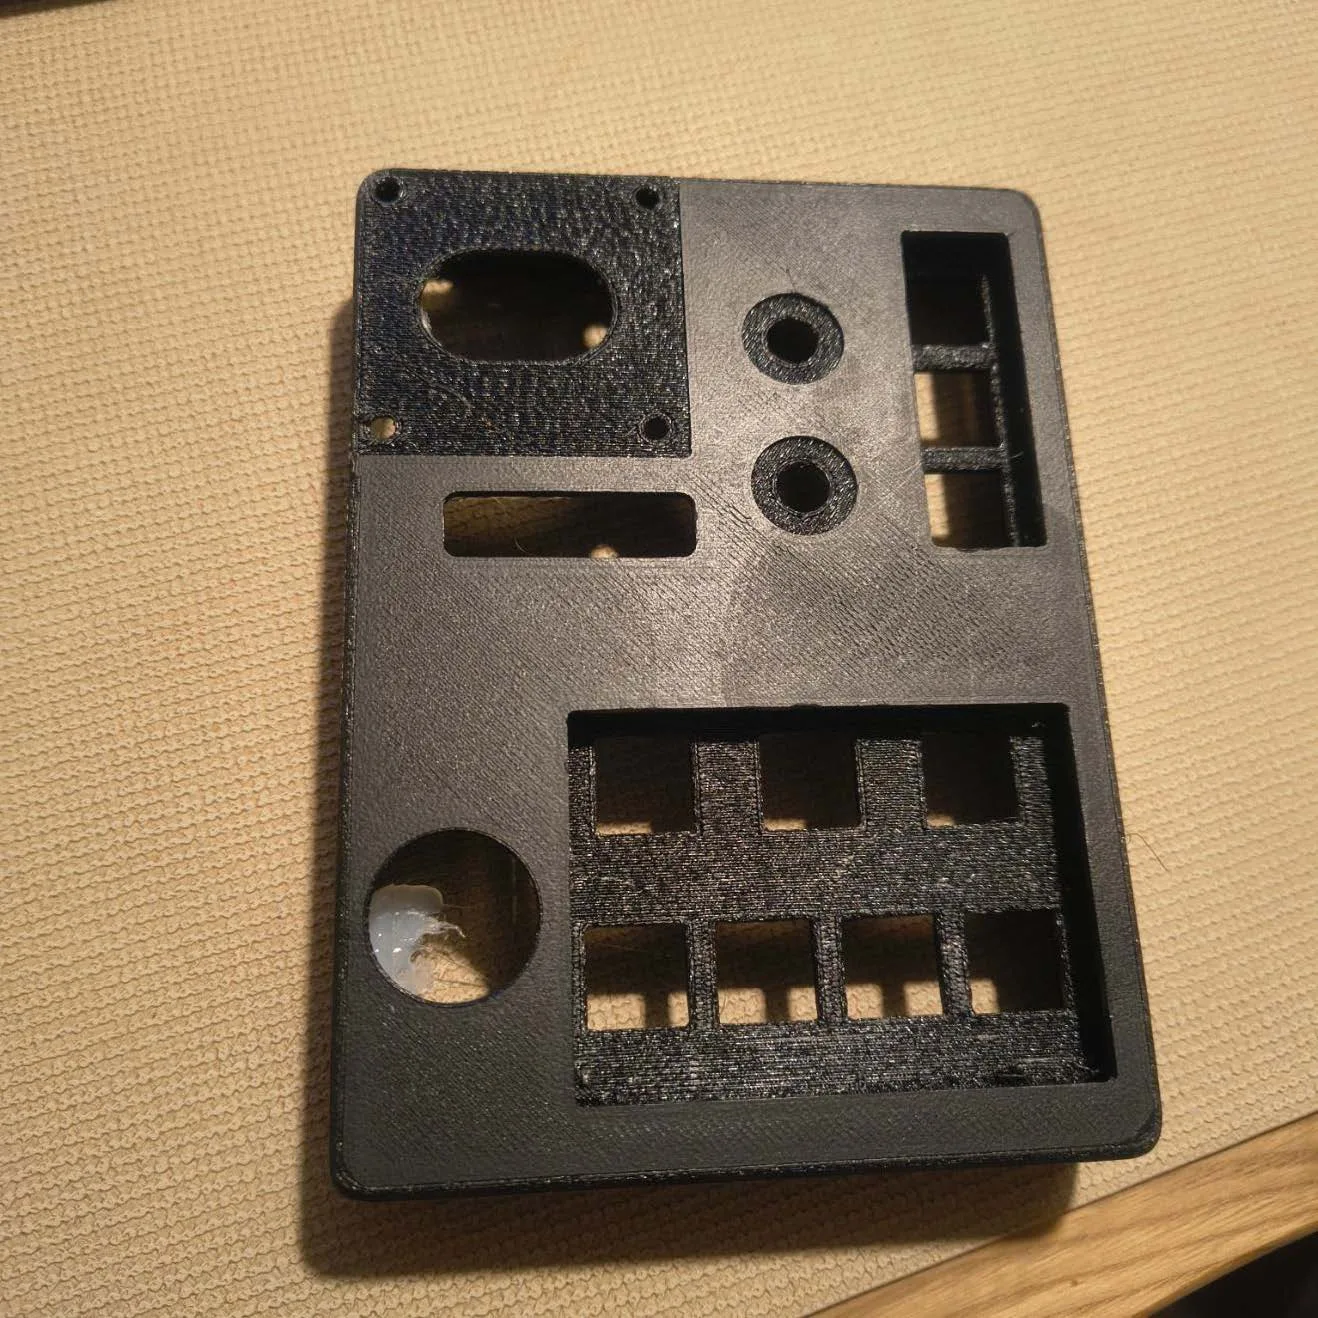
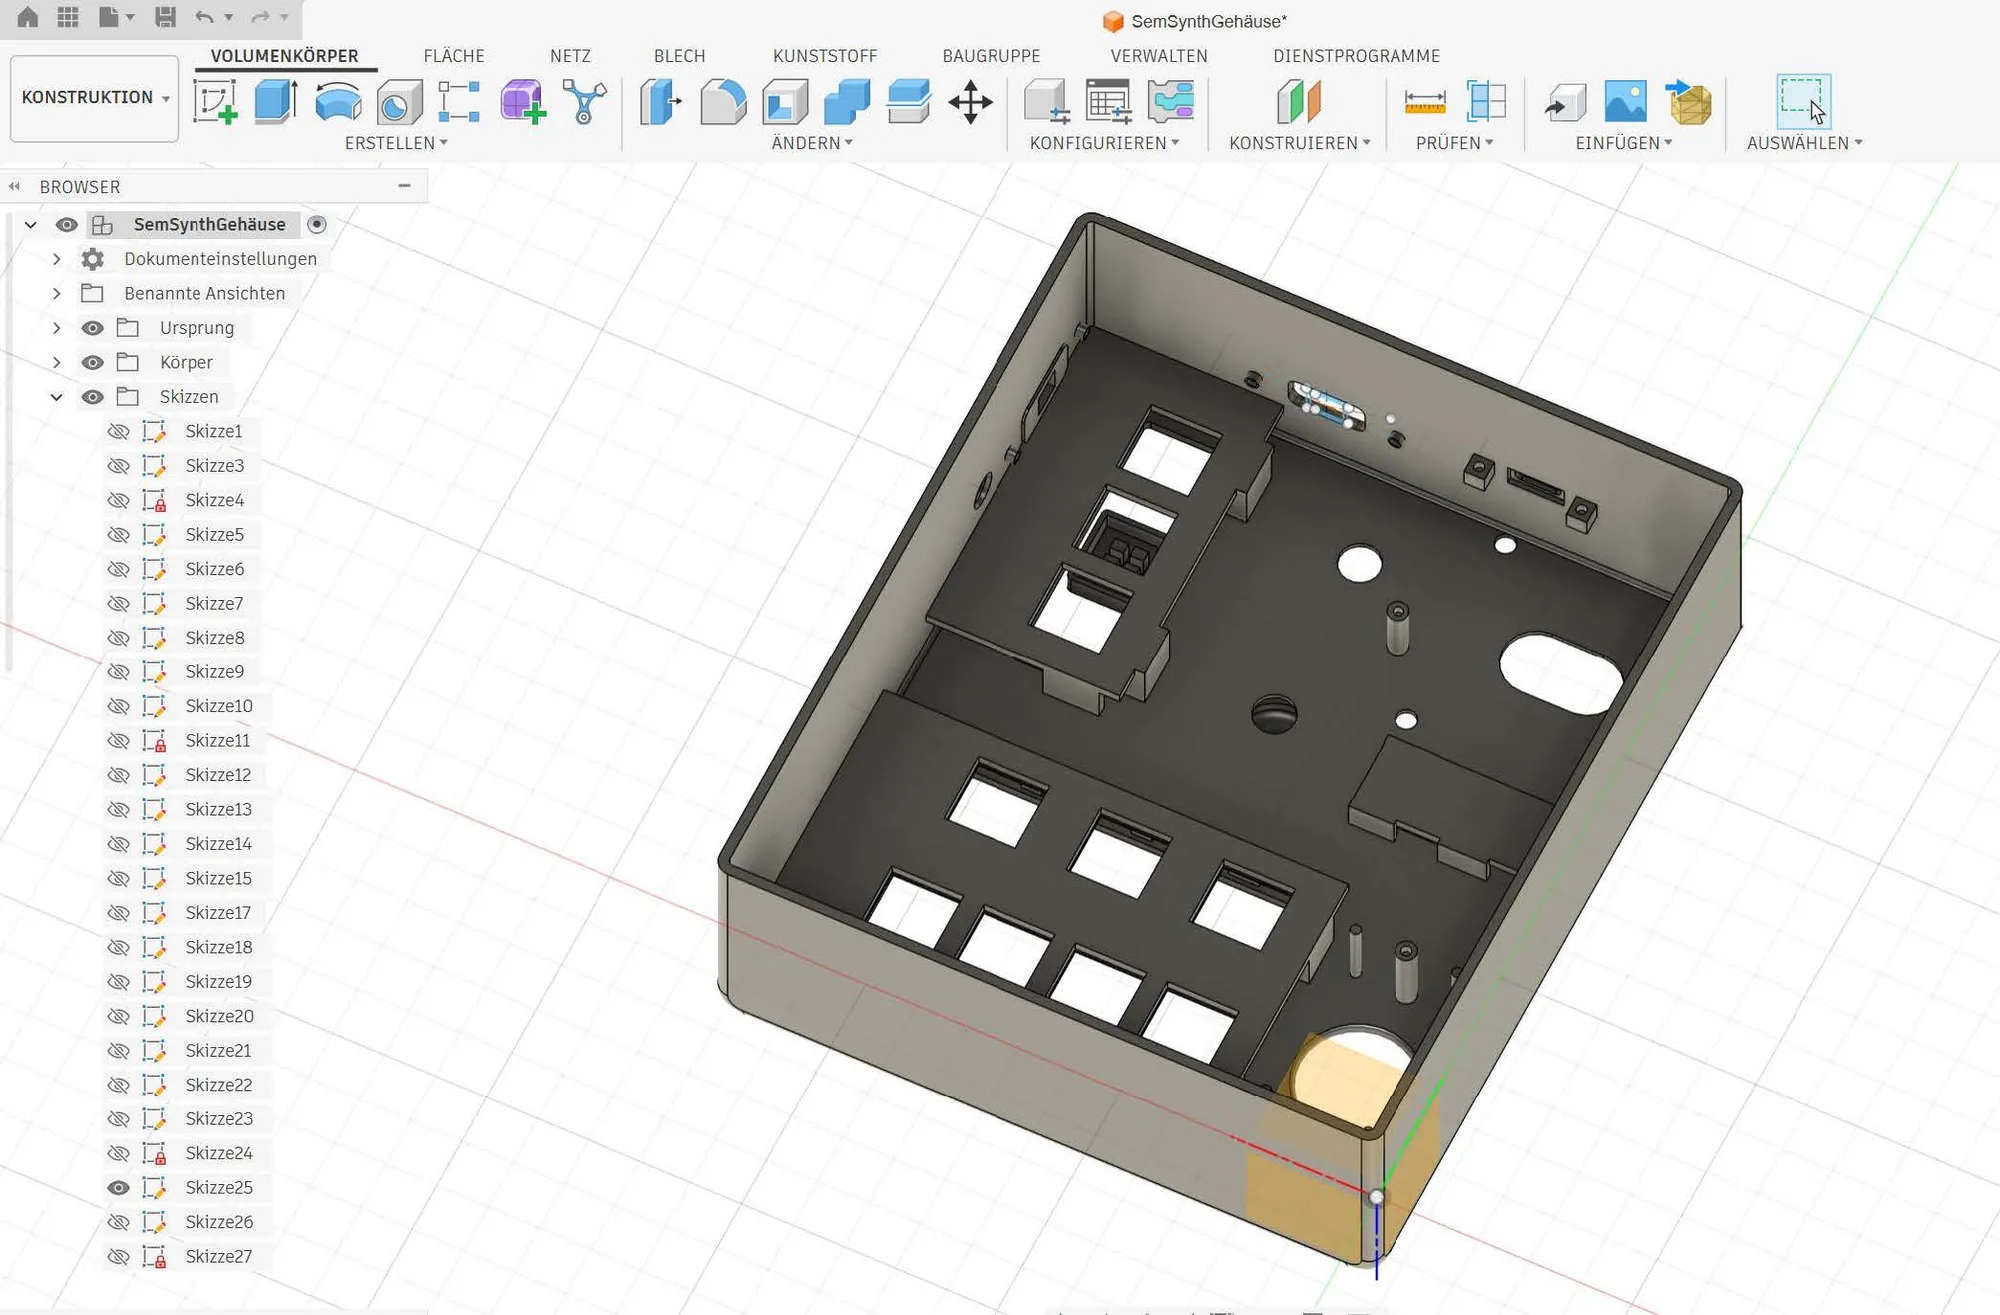
As soon as I had a rough understanding of the circuit layout and had written the first basic version of the code, I moved on to designing the enclosure in Fusion. For the first 3D print, I only produced the main body of the case in black and installed all the components to get a first impression of the overall form and layout of the device.
From there, the project moved into the next iteration phase. I began soldering the components, refining the code, and improving the sound generation. For audio synthesis, I used the Mozzi library, which proved to be a very useful tool for this type of Arduino-based project. At the same time, the enclosure design was revised as well.
In the following iteration, the case became noticeably wider and deeper. I also adjusted the dimensions for the buttons, cutouts, and connectors to improve the overall fit. This time, the second print turned out to fit properly, which was a very satisfying milestone in the process.
At the moment, the project is in its final stages. The code is still being refined, and the remaining small parts are being printed and added step by step.
Et voilà, a new synthesizer is born. :)